Step-By-Step Guide To Creating Stunning Diy Wedding Invitations


When it comes to your big day, every detail counts—even your wedding invitations! If you're looking for a way to save some cash while adding a personal touch, a DIY wedding invitation is the way to go. In this step-by-step guide, you’ll discover affordable ideas for DIY wedding invitations, how to design custom DIY wedding invitations, and the materials you'll need to bring your creative vision to life. Let’s dive in!
Why Go DIY?
Creating your own wedding invitations is not just a budget-friendly option; it’s an opportunity to showcase your personality as a couple. Plus, it adds a unique touch that your guests will appreciate. Imagine sending out invites that reflect your love story—sounds pretty dreamy, right?
Materials Needed for DIY Wedding Invitations
Before you get started, gather all the essentials. Here’s what you’ll need:
- Paper: Cardstock is a popular choice for a sturdy yet elegant feel.
- Printer: A high-quality inkjet or laser printer works best for crisp designs.
- Cutting Tools: Scissors or a paper cutter for precise edges.
- Adhesives: Glue sticks or double-sided tape for assembling layers.
- Embellishments: Ribbons, stamps, or decorative elements to jazz things up.
- Envelopes: Choose ones that match your paper for a cohesive look.
- Design Software: Canva, Adobe Spark, or even Microsoft Word can help create stunning designs.
Step 1: Determine Your Style
Before you start designing, it's crucial to decide on a theme. Here are some creative themes for DIY wedding invitations:
- Rustic: Think kraft paper and twine.
- Vintage: Use floral patterns and elegant fonts.
- Modern: Go for minimalistic designs with bold colors.
- Whimsical: Incorporate playful graphics and unique layouts.
Take a moment to reflect on what resonates with you as a couple. This will guide your design choices down the line.
Step 2: Craft Your Wording
Now that you have a theme, it’s time to write the invite. Make sure to include:
- Host Line: Who’s throwing the party?
- Couple’s Names: Yours, of course!
- Date and Time: When’s the big moment?
- Venue Details: Where will the celebration take place?
- RSVP Information: How should they let you know?
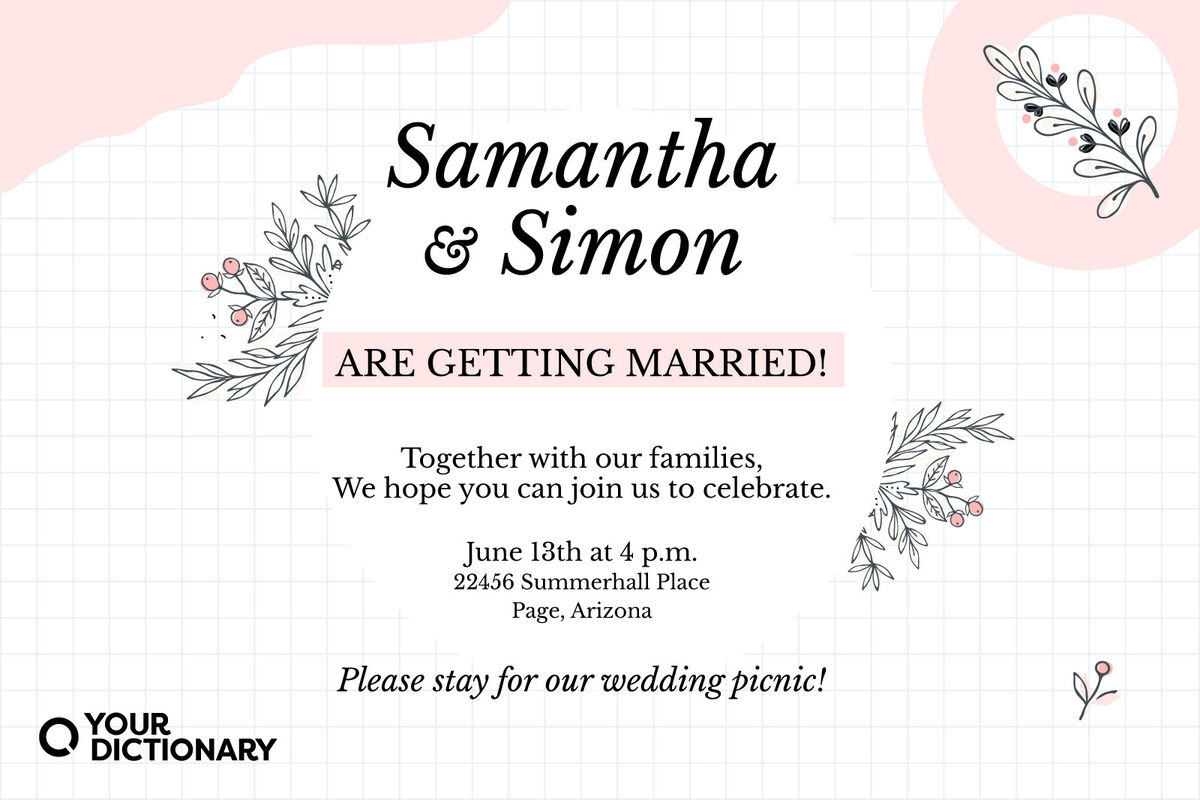
Example Wording:
“Together with their families, [Your Name] and [Partner’s Name] invite you to celebrate their marriage on [Date] at [Venue]. Please RSVP by [RSVP Date].”
Step 3: Design Your Layout

Time to unleash your inner graphic designer! Here’s how to create custom DIY wedding invitations:
- Choose Dimensions: A standard size is 5” x 7”.
- Select a Color Palette: Stick to 2-3 colors that complement your theme.
- Pick Fonts: Limit to two—one for headings and another for body text.
- Add Graphics: Use icons, floral designs, or even photos that align with your theme.
Tip: Keep it balanced. Avoid overcrowding your invite with too much text or too many images.
Step 4: Print and Assemble
Once your design is perfect, it’s time to hit print! Here’s a quick checklist:
- Test Print: Always do a test print on plain paper first.
- Check Alignment: Ensure everything is centered and properly aligned.
- Print on Cardstock: Use high-quality cardstock for a professional finish.
After printing, carefully cut your invitations and assemble them with any embellishments you’ve chosen.
Step 5: Mail It Out
Now comes the fun part—sending them out! Here’s how to make sure your invites land safely in your guests’ hands:
- Use Good Envelopes: Match colors and ensure they’re sturdy.
- Address Clearly: Use legible handwriting or printed labels.
- Postage: Don’t forget to weigh your envelopes to ensure you have enough postage!
Affordable Ideas for DIY Wedding Invitations
Looking for ways to save while still making a splash? Here are some budget-friendly tips:
- Print at Home: Avoid printing costs by doing it yourself.
- Digital Invitations: Consider sending out digital invites for an eco-friendly option.
- Bulk Purchase: Buy materials in bulk to save money.
- Use Free Templates: Platforms like Canva offer free wedding invitation templates.
Final Touches
Before you send everything off, double-check everything!
- Proofread: Typos can be embarrassing, so read everything twice.
- Get Feedback: Ask a friend to review your final design.
- Enjoy the Process: Remember, this is part of the journey to your big day!
Conclusion
Creating your DIY wedding invitations can be a fun and fulfilling project that not only saves you money but also adds a personal touch to your wedding. With the materials needed for DIY wedding invitations and our step-by-step guide, you’re all set to design stunning invites that your guests will love. So, roll up your sleeves, unleash your creativity, and get ready to impress!
Got any questions or need more tips? Drop a comment below, and let’s keep the conversation going! Happy crafting!
