Mastering Tables In Word: A Step-By-Step Guide

Creating tables in Microsoft Word can feel like trying to tame a wild beast, but fear not! Whether you're a beginner or someone just looking to polish your skills, this guide is your trusty sidekick. By the end of this article, you’ll know exactly how to create tables in Word, customize them to your liking, and even explore some advanced techniques. Let’s dive in!
Why Tables Matter
Tables are essential for organizing information clearly and effectively. They can transform a mess of data into a visually appealing layout. Plus, they help your audience absorb information faster. A well-structured table can save you and your readers a lot of time and confusion.
What You’ll Learn
- Basic table creation: How to create tables in Word for beginners.
- Table customization: A tutorial on personalizing your tables.
- Advanced techniques: Inserting and formatting tables in Word 2023.
- Expert tips: Mastering advanced table creation techniques.
Ready to become a table master? Let’s get started!
How to Create Tables in Word for Beginners
Step 1: Inserting a Basic Table
Creating a table in Word is as easy as pie. Here’s how:
- Open Microsoft Word: Start a new document or open an existing one.
- Navigate to the Insert Tab: Look at the top menu, and click on “Insert.”
- Select Table: Click on the "Table" button. You’ll see a dropdown menu.
- Choose Your Table Size: You can either drag to select the number of rows and columns you want or click on “Insert Table” for more options.
Step 2: Adding Content
Now that you have your table:
- Click inside a cell and start typing.
- Press Tab to move to the next cell.
- Press Enter to start a new line within the same cell.
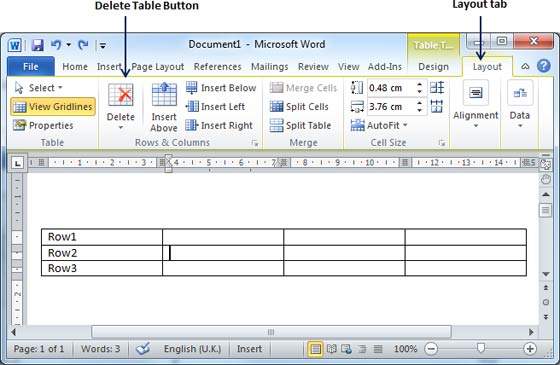
Step 3: Formatting Your Table
Want to jazz it up? Here’s how:
- Select the entire table by clicking the small square at the top left corner.
- Go to the Table Design tab. Here, you can choose styles, colors, and borders to make your table pop.
And voila! You’ve created a basic table. But wait, there’s more!
Customizing Tables in Microsoft Word Tutorial
Step 4: Merging and Splitting Cells
Making your table more functional often involves merging or splitting cells.
- To merge cells: Highlight the cells you want to combine, right-click, and select “Merge Cells.”
- To split a cell: Click on the cell, right-click, and choose “Split Cells.” Decide how many rows and columns you want.
Step 5: Adjusting Column Width and Row Height
Make your table look neat by adjusting sizes:
- Hover over the border of a column or row until you see a double-headed arrow.
- Click and drag to resize.
Step 6: Adding Borders and Shading
Give your table some flair:
- Select your table, then go to the Table Design tab.
- Use the Borders option to customize what lines to show.
- Use the Shading option to add background colors to specific cells or the entire table.
Pro Tip: Keyboard Shortcuts
- Ctrl + Alt + T: Insert a table quickly.
- Tab: Move to the next cell.
- Shift + Tab: Move to the previous cell.
Inserting and Formatting Tables in Word 2023
Step 7: Using Quick Tables
Need a predefined layout? Quick Tables to the rescue!
- Go to Insert > Table > Quick Tables.
- Choose from various templates, like calendars or schedules, and modify as needed.
Step 8: Creating a Table from Text
If you have text that needs to be table-ized, here's how:
- Highlight the text.
- Go to Insert > Table > Convert Text to Table.
- Choose how your text is separated (commas, tabs, etc.) and hit OK.
Step 9: Adding Formulas
Want to work smarter? Use formulas!
- Click on the cell where you want the result.
- Go to the Layout tab under Table Tools, and click on “Formula.”
- Choose the formula you want to use (like SUM) and hit OK.
Advanced Table Creation Techniques in Word
Step 10: Nested Tables
Want to create a table within a table? Here’s how:
- Insert your main table as usual.
- Click inside a cell where you want the nested table.
- Follow the steps for creating a new table!
Step 11: Using Styles for Reusability
If you find yourself creating similar tables often, save time with styles:
- After formatting your table, go to Table Design > Table Styles.
- Click on “New Table Style” to save your formatting as a reusable style.
Step 12: Linking Tables to Excel
For dynamic data that updates automatically:
- Create your table in Excel and copy it.
- In Word, go to Home > Paste > Paste Special.
- Select “Paste Link” and then “Microsoft Excel Worksheet Object.”
This way, any changes made in Excel will reflect in Word!
Conclusion
Congratulations! You’ve just unlocked the secrets to mastering tables in Word. From creating basic tables to employing advanced techniques, you now have the skills to present your information in an organized and visually appealing way.
Key Takeaways
- Start simple: Learn the basics before diving into advanced techniques.
- Customize: Make your tables unique with colors, borders, and styles.
- Practice: The more you play around with tables, the better you'll become!
Now, go forth and impress your colleagues with your newfound table skills! And if you ever need a refresher, this guide will always be here for you. Happy table-making!
